[Nail Week] My Favourite Nail Polish Brands

Nail Week is coming to a close, and I decided to end it with a post on my favourite Nail Polish Brands.
Over the years I have tried various brands of polish. Some I’ve not been too keen on, others I’ve become a long-term fan of, and still continue to use today. So I decided to include some of my old favourites and some of the up-and-comers in my personal collection.Why have I chosen the brands that I did?

Maxfactor
A mid-range priced polish that offers great coverage and good colour.
Great application – opaque in 1 coat!
Buy here.

OPI
Such an amazing range of colours, shades and glitter polishes.
If you want a particular colour, OPI will have it.
Buy here.

MUA
Cheap and cheerful.
Polishes start at £1 and come in a variety of shades, including glitters.
Buy here.

Chanel
A high-end polish that doesn’t disappoint.
Application and removal is super easy, whilst the shades are always on-trend.
Buy here.

Barry M
Affordable, vibrant colours that are long-lasting.
They often have discounts and special offers for their large variety of polishes.
Buy here.

Dear Lee
Wonderful colours and cheap too!
I love their selection and the application of the polish.
Buy here.

Miss Sporty
Another cheap, but effective polish.
Buy here.

So there you have it, my favourite go-to nail polish brands.
Of course that doesn’t mean I won’t be experimenting with any new brands.
What’s your favourite nail polish brand?

[Nail Week] Review: Glitter Nail Art Brushes


Nail art pens and brushes are some of the easiest ways to create a variety of designs.
I’ve experimented with pens in the past, and I think they’re great but some can be a little awkward to use.
So this time I tried out some glitter nail art brushes, just to see if I could get on any easier with them.
These particular ones come in a set of 9; red-pink, purple, blue, orange, green, 2x gold, 2x silver.
There are two for each silver and gold as one is a thin glitter, and one has bigger pieces.
Please note it is very hard to photograph glitter polish – the effect is much better in person.

Creating a gradient effect with the glitter nail art brushes.

Pros:
+ Easy to use
+ Glitter goes on well
+ Colours are vibrant
+ My favourite colours are orange, blue and gold

Cons:
– Can be slightly gloopy
– Takes time to dry
– Has a VERY strong smell (nail polish chemical smell)

Notes:
I really loved the effect I created with these, but I wonder if I’d be able to create more intricate designs with them.
I think if you want something for simple designs (stripes, gradients, polka dots etc) these are great.
However if you wanted to draw with these then I would say it’s probably going to be difficult, and pens would be a better solution. That said, I thought the glitter went on well and it was easy to apply, especially compared to some of the pens I’ve used. The drying time was slightly longer than a nail polish, which is probably due to the ‘gloopy’ formula. 
You can buy these Glitter Nail Art Brushes here.
Or browse BornPrettyStore for other colours in the range.
10% off with code: BLOOMZYK31

[Nail Week] 5 Tips for Strong & Healthy Nails

I often get people online and in my daily life asking me how I keep my nails so nice.
I never even thought my nails were that nice, and I don’t do much. However, friends and family ask me for my tips as they find it difficult to get long, strong nails, and keep them that way! Honestly, I think some of it is genes but I do have a few tips and some product recommendations to help those out who want healthy, strong nails.
File/Trim your nails regularly
I’ve found that trimming my nails (with manicure scissors) and filing them often, helps keep them strong.
They’re also less likely to break if you trim/file them often. Remember not to trim/file your nails when they’re wet, such as after a shower or bath, as they’re a lot more delicate in this state. I also use a hand and nail moisturiser after I have filed, which I rub into my nails. Models Own have some stylish scissors here, and check out the latest StyleFile here.
Avoid Acrylic & Gel nail extensions
I think this is the hardest one to do of all these tips.
I used to love getting my nails done and would rush back to the salon after having the last set removed.
Sadly acrylic and gel extensions can do quite a bit of damage to your nails, especially when they’re being removed.
After I stopped getting extensions I noticed how sad my nails looked, but they soon perked up!
Of course the occasional set won’t do any harm though.
Use a Cuticle Oil or Vaseline/Olive Oil on your cuticles and skin
Rubbing a cuticle oil, vaseline or olive oil into your cuticles and the skin surrounding will help keep your nails hydrated and your cuticles soft. Not everyone can afford a cuticle oil, so these at home remedies can be just as useful. You also don’t really need to trim/push back your cuticles, that can actually cause more harm then good.
If you are interested though you can find cheap cuticle oils here and a more expensive version here.
Try adding more milk to your diet, or maybe some nail supplements?
Adding more calcium and zinc to your diet can help improve the strength of your nails.
If you can’t do that then nail supplements can be a great alternative as they often include plenty of other vitamins and minerals. Not only that but they’re also great for your skin and hair too – I take a few a day.
You can find nail supplements at most health food stores, like here.
Use a Nail Strengthener
This is the only tip that I’ve not actually tried myself, but it is something I’ve heard a lot of good things about.
Nail strengtheners can be really helpful for those whose nails break easily, or just to help bulk them up.
From what I’ve heard, OPI’s nail strengthener is one of the best out there, you can buy it here
If you don’t fancy shelling out that much money, 17 do a much cheaper version here.
Good luck! And feel free to comment with your own tips!

[Nail Week] Review: Ylin Colour Changing Nail Polish


Here is the next post from ‘Nail Week’, introducing a colour changing nail polish!
This probably sounds like a bit of a gimmick, but I was seriously impressed with it.
I haven’t been a fan of the cracked polish & magnetic polish looks, so this is my fad of the Summer.


As you can see from the photos above the nail polish changes colour when exposed to different temperatures.
At room temperature the nail polish has a nice gradient effect to it – this bottle is a blue base with purple gradient tips.
When it’s warm (see circled nail) the polish reverts back to blue and finally when it’s cold the polish changes to purple – I only placed the tips of my fingers in the freezer to quicken the process, that’s why it’s more of a gradient in the photo.
Oh, and don’t worry about the white dot on one of the nails – I caught it when applying the polish.
Pros:
+ I loved the gradient effect
+ Opaque in one coat
+ Fun and a bit of a party trick
Cons:
– Matte finish
– You don’t have much control over how/when the colour changes
Notes:
It is a novelty, but I found it fun to wear a colour changing nail polish.
The fact that you can achieve a simple gradient effect without having to spend hours on your nails, or use various sponges etc. is worth buying this polish alone. Of course depending on the temperature you don’t have much control over the look of your polish, but I didn’t find that too bothersome, actually it was quite fun checking up on my nails during the day to see if they had changed. As for the matte finish, I felt a bit sad about that, but I guess it’s down to the formula.
The price isn’t too bad either at around £5 (with free shipping).
ETA: Yes, a glossy topcoat can be applied and it will still change colour. I did it with a Barry M topcoat.
You can buy the blue/purple Ylin Colour Changing Nail Polish here.
Or browse BornPrettyStore for other colours in the range.
10% off with code: BLOOMZYK31

Japanese Nail Art | Nail Week

Japanese Nail Art
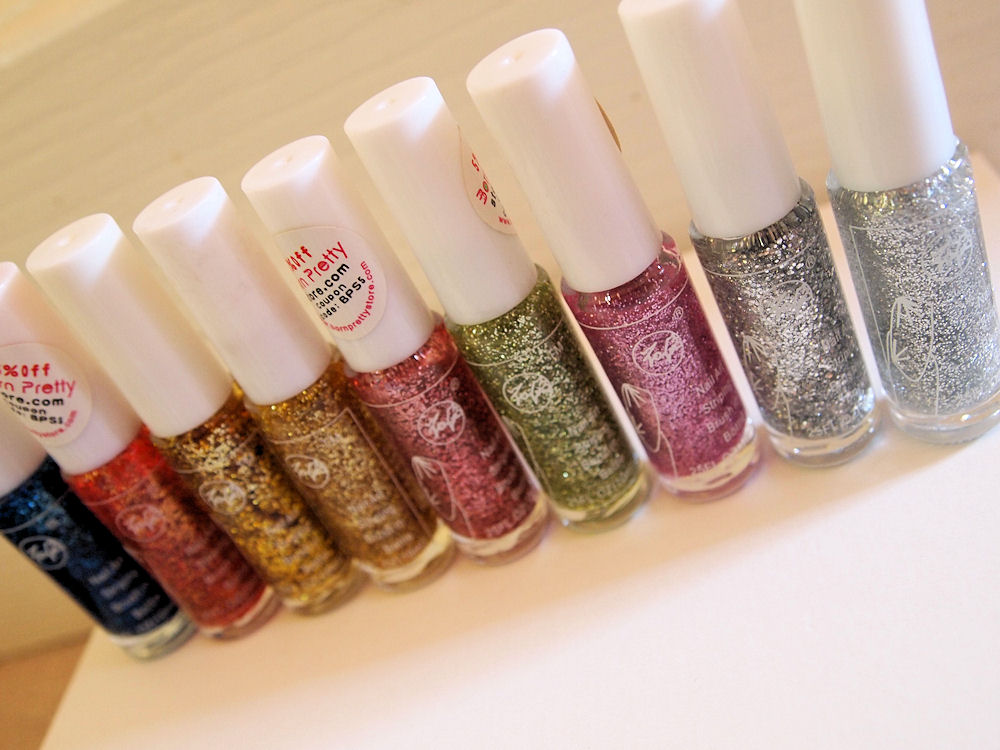
A selection of Japanese nail art

‘Nail Week’ has just begun and we’re diving into the deep end. Today’s post is all about nail art, of the Japanese variety. Why? Well nail art was one of the first things I fell in love with in the Japanese beauty industry, and with nail art becoming more popular in British fashion and beauty (Company magazine can’t get enough right now) I thought it was quite fitting for me to honour the reigning country of nail art. Fashion magazines in Japan constantly feature nail art in their beauty pages, whilst whole magazines are dedicated to it, such as: Nail Up, Nail Venus and Nail Max. Young girls and Women alike are obsessed with expressing themselves through their nails, and in Japan there are no limits to what you can do with your nails.

Some are simple, feminine and short:
Japanese Nail Art

Whilst others can be intricately decorated, edgy and insanely long:
Japanese Nail Art

Japanese nail art is well known worldwide for its creation of mini 3D artworks, use of various adornments and delicate designs. Nail salons have popped up all over the world trying to re-create the popularity and stylish nails seen on the streets of Japan – London-based Sohotrightnail can offer you some more detailed and embellished designs, whilst WAH NAILS can easily feed your simpler design needs. Of course the originals don’t come cheap. Prices usually start at around 10,000円 for a basic set, that’s about £80! It may seem expensive but when you see the work that goes into them, and the time that it takes, you can forgive them for charging so much. Getting your nails done in Japan is definitely an experience, and the end result is worth the money spent – but if you don’t have the money to spare then you can always make a stop at Donki for some of their press-on nails (photo here), which are just as amazing, for around £15.

Mitsu is a good friend of mine who not only dresses fabulously but styles her nails to match.
You can check out the various Japanese nail art she has had done here.

Source; 1, 2, 3, 4, 5

[Nail Week] Review: Dear Lee Gold Multicoloured Glitter Nail Polish

Those who follow me on Twitter will know that I have dubbed this week on the blog; ‘Nail Week’.
Why? Well this week’s beauty posts will all be related to nails – polishes, art etc.
So here is the first post for ‘Nail Week’, a review of my new favourite Glitter polish, from Dear Lee.
Dear Lee isn’t a well-known nail polish brand, but they’re one of my favourites.
Their polishes have a great consistency, apply well, are long lasting and have great cover.
This polish is no different, and for fans of glitter polishes (like myself), you won’t be disappointed.
Pros:
+ Thick consistency for a glitter polish
+ Good application
+ Glitter showed up well
+ Loved the rainbow sequins used
+ Works well with various base colours
+ Removed easily with nail polish remover

Cons:
– Gold could have been more prominent
– Doesn’t look great with a white base coat

Notes:
If American Apparel’s Galaxy Glitter & Models Own’s Gold Finger had a baby, this would be it.
This is the glitter polish I have been waiting for. I haven’t been able to find a rainbow glitter with a gold glitter base anywhere. I’m sure I’ve seen plenty but not at a price I can justify for a nail polish. The price for this? Around £2.70 ($4.22)! That is a ridiculously good price, especially when shipping is free. As you can see from the photos above, I tried it out with a dark base, a white base and on plain nails. I’m not a massive fan of how it looks on a white base coat but I am in love with it paired with the other two. I can tell that this will be worn A LOT.
You can buy Dear Lee’s Gold Multicoloured Glitter Polish here.
Or browse BornPrettyStore for other colours in the range.
10% off with code: BLOOMZYK31