Interior Design | In The Window

in-the-window-interior-design-3

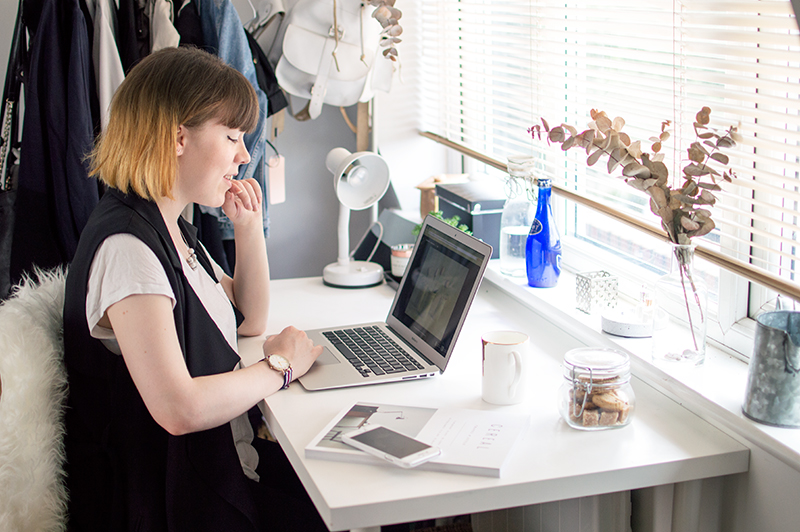
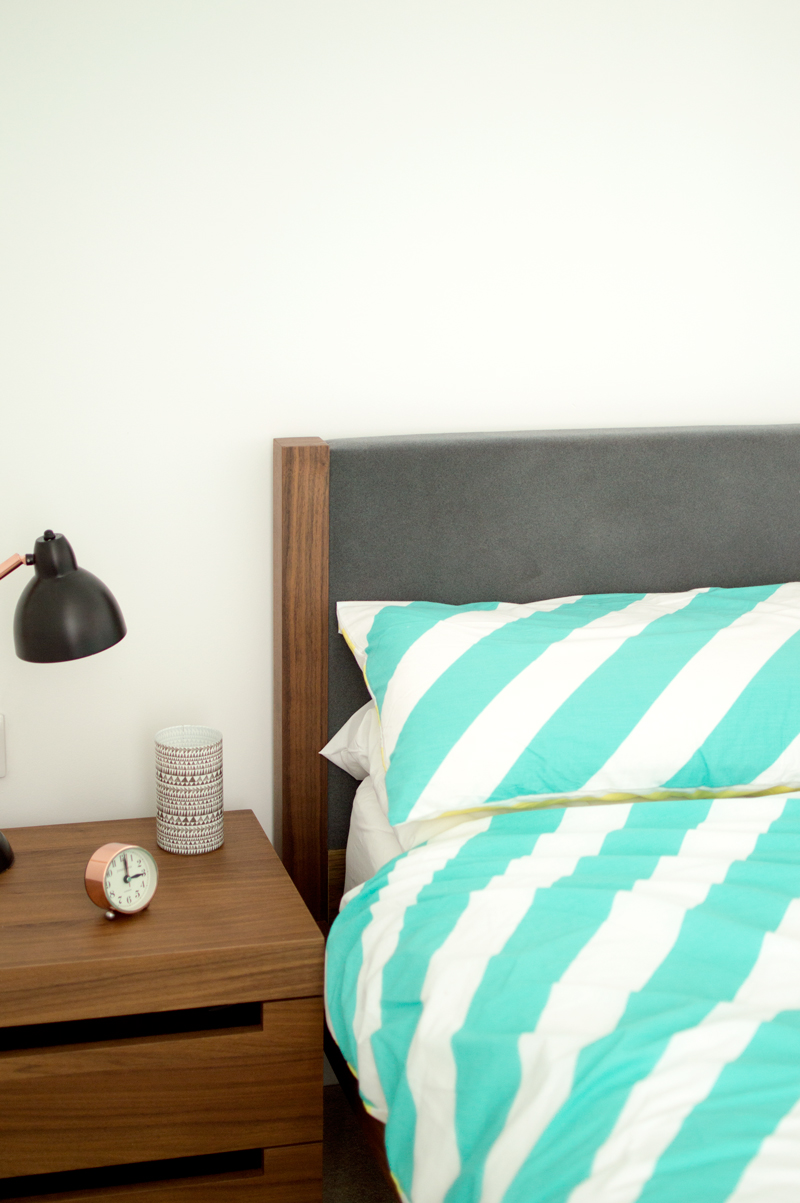
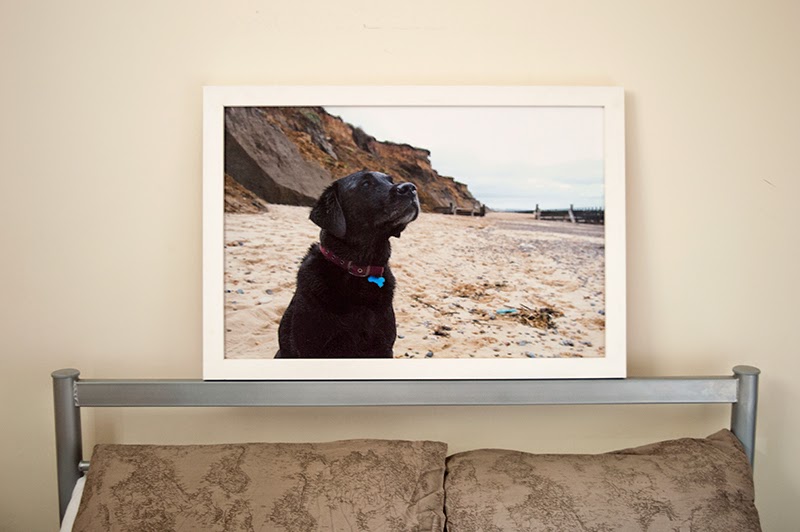
As a child I loved wandering around showrooms and home stores with my parents. I would make imaginary wish lists in my head, choosing pieces for my dream bedroom. As a little girl, that was as far as I got. As an adult moving away to university, I started taking interior design a little more seriously. Although I still hadn’t quite found my style yet – my uni dorm was a jumble of pink bed sheets and Korean boyband posters.  After university the next big move was London, and my own little apartment. No more house sharing. However a small flat in Stoke Newington doesn’t really offer up much of a blank canvas. Still, I decorated the walls with art prints, and the tables with carefully placed trinkets. I had so many ideas of what I wanted to do to the flat, but realistically I knew it wouldn’t work. So when we moved in April this year to a bigger, brighter apartment, I was over the moon. I went into interior design overdrive. Luckily I had a little friend to help me – In The Window.

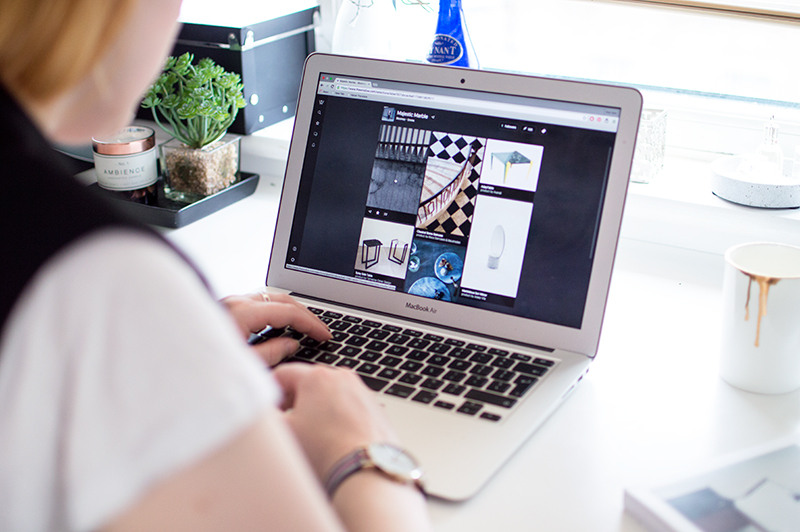
In The Window enables designers, makers, and brands to share their stories and collections in a uniquely visual way. It is about giving the designers and their products the spotlight. I personally prefer this to a company whose goal is only to sell to you. Of course if you like what you see, you can click through to a stockist where you can purchase your object of desire.

But the real point of In The Window are the stories – delving into the worlds of the designers. Each window showcases the work and story behind the designer, maker or brand. Users can take part too. In The Window’s community can discover, experience, and meaningfully interact with the content via curation, sharing, and conversations. My favourite aspect are the labels. By simply selecting any product or window, you can add them to custom labels you have created under your account. Other users can view these and comment on them, or add them to their own labels. You can even interact with the designers themselves. For creatives, and those who just adore interior design, In The Window is an innovative way to discover via a new, unique social network.

You can view my labels at In The Window.

Thank you to V.A who took the photos of me.

in-the-window-interior-design-1in-the-window-interior-design-2

A Minimalist Haven at Home

dwell-homeware-home-decor-interior-white-minimalist-office-space-work-bloomzy

Moving home means many things, but probably the most exciting is making a fresh start. I’ve always loved bright open rooms, but unfortunately our last apartment was small and dark. So when we were looking for a new apartment we kept this in mind. Luckily for us we found something pretty special. That meant I was finally able to decorate with one particular item that I’d always wanted, but never been able to justify – a ladder shelf. I’ve always loved how chic and minimalist ladder shelves are. They offer a space to display some of your more decorative pieces, without making things look cluttered.

Being able to see something in-store is far better than viewing it online, obviously. So I popped by Dwell’s Westfield store to see the shelf, and a few other items:

I picked up the lamp, vase and espresso cups in-store, although I was told I would have to wait for the shelf unit, as they are kept at the warehouse. The ordering process with Dwell was pretty easy. I did it right there and then in-store, and arranged to have it delivered to the same location that week (home delivery is also available). When the delivery day came I received a call stating that there were problems with the truck, and that it would be in by the end of the week instead. Sure enough I received a phone call on Friday evening to say it was ready for collection.Even with the small hiccup, everything went smoothly. I’m incredibly happy with our new space, and we’ve had so many compliments on it from friends and family. Slowly and surely our apartment is turning into the minimalist haven I have always dreamt of.

——————————–
This post is in collaboration with Dwell but all views, photos and words are my own.

dwell-homeware-home-decor-interior-white-minimalist-office-space-work-bloomzy-2-copy

dwell-homeware-home-decor-interior-white-minimalist-office-space-work-bloomzy-1-copy


Time for a Spring Clean

george-asda-homeware-lifestyle-home-interior-desk-lamp-copper-bronze

george-asda-homeware-lifestyle-home-interior-bed-duvet

george-asda-homeware-lifestyle-home-interior-alarm-clock-copper-bronze

Spring may be my favourite season, but I don’t enjoy the inevitable small talk topic of Spring cleaning. I dislike clutter so I spend most of my year tidying up and keeping things as minimal as possible – I truly believe that it helps keep my head clear also. However after starting my new job last year, I’ve found that I don’t have as much time as I used to. I knew that the move to the new apartment was going to be a great excuse to do a big overhaul of all our stuff. Of course that also means investing in new pieces. Luckily for me, George at ASDA offered me a small budget to deck out our new bedroom with.

Honestly George isn’t the first brand I think of when I want to buy new homeware. However after browsing the site I realised that they carried a lot of on-trend products (like these copper items), for very reasonable prices. Soon enough I had chosen everything and it was on it’s way. Here’s a quick rundown of what I ordered:

The main items were a dresser, lamp and a rug, with some items of bedding, and several decorative bits to scatter around the room. The dresser wasn’t the easiest to put together, but thankfully the rug and lamp did their own thing. The bedding was all very good quality. We went for the full shebang: duvet, memory foam pillows, soft pillows, bed sheets and a duvet cover set (I couldn’t resist that green). As for the decorative items, well they just look great anywhere. The Yankee candle smells lovely, and the one we popped next to the bed is scent-free – so no sniffling during the night!

I have to say that we’ve been sleeping really well, and I am usually a very light sleeper.  I’ve also found myself sneaking away to the bedroom to blog, whilst I lounge on the bed. I think it’s fair to say that our bedroom has now become a bright, attractive space for us to relax in. Mission success!

——————————–

This post is in collaboration with George at ASDA but all views, photos and words are my own.

Tutorial: DIY Marble Table

diy-marble-table-tutorial-vinyl-contact-paper-bloomzy-5

diy-marble-table-tutorial-vinyl-contact-paper-bloomzy-7

It’s been a while since I did a tutorial post; but what’s more of a shock is that this time it’s a homeware tutorial. Yes, you may have noticed by my incessant Instagram posts that I too have jumped on the marble bandwagon. However I knew that at some point decorations would no longer do. That eventually I would turn into a decor-obsessed monster. Well that day has come ladies and gentleman, and I knew I had to do something about it. No I will not be aimlessly wandering the streets of East London, rambling about marble and Pinterest tutorials to anyone who will listen. Instead I remembered something from my childhood – the old style marble contact paper/vinyl you could buy in homeware stores (que horrific memories of being dragged around B&Q by my parents). So I got on eBay and decided I would finally spruce up the table I use for my product photos…and here’s my resulting tutorial: How to create a marble table for under £20, in only 5 steps!

What do you need?
Table – I bought mine from Argos (£14.99)
Marble Contact Paper – eBay (£4.99)
Soft clean cloth
Scissors
Ruler

How to make it:
1. Clean the surface of the table.
2. Use the ruler to measure the diameter of the table.
3. Use the grid on the reverse of the contact paper to measure and cut to size.
4. Peel off some of the back paper and put it along one edge of the table.
5. Use the soft cloth to gently apply pressure to the paper. Slowly peel off the rest of the paper little by little, continuing to apply pressure as you go along.

The great thing about contact paper/vinyl is that you can always peel it off if you make a mistake (or if decide that you don’t like it). You could also use the leftover to cover your laptop or phone case…or anything else you can get your hands on.

Good luck!

diy-marble-table-tutorial-vinyl-contact-paper-bloomzy-4

diy-marble-table-tutorial-vinyl-contact-paper-bloomzy-3

diy-marble-table-tutorial-vinyl-contact-paper-bloomzy-2

diy-marble-table-tutorial-vinyl-contact-paper-bloomzy-1

diy-marble-table-tutorial-vinyl-contact-paper-bloomzy-8

diy-marble-table-tutorial-vinyl-contact-paper-bloomzy-6

Turning a Photograph Into a Piece of Art

print-foundry-canvas-photo-photograph-bloomzy-1 print-foundry-canvas-photo-photograph-bloomzy-2

When my parent’s told me they planned to redecorate their lounge I knew I had to send them a little gift, and by ‘little gift’ I mean a gigantic canvas print of our family dog. It was the one item I could be confident they would make use of. Thankfully The Print Foundry were on hand to do all the hard work. All I had to do was sit back and choose a fitting photograph.

The one I finally went for is a personal favourite of mine, which was taken on the beach at Walcott, Norfolk. Now I realise that I’m biased, but I do happen to think my dog is pretty darn handsome. This photo of him just seems so majestic and regal that I couldn’t resist having it blown up for all to see. When it arrived I was in half a mind to keep it for myself. The quality of the canvas and printing is superb, it almost looks like an oil painting when the light hits it. As for the size, it was bigger than I had expected, but that certainly wasn’t a bad thing. I had been secretly hoping it would be large enough to take pride of place in my parent’s lounge. In fact my parent’s adore it so much that they have already put it up, even though they haven’t even started decorating yet. They told me that they fell in love with it as soon as they laid eyes on it, which makes for one successful gift if you ask me. Apparently my grandmother has plans to steal it and put it on her staircase…that’s one less Christmas gift to think of anyway.

You can turn your own photographs into works of art at The Print Foundry.