Review: Pestle & Mortar Pure Hyaluronic Serum

pestle-and-mortar-pure-hyaluronic-serum-face-beauty-review-bloomzy-7 pestle-and-mortar-pure-hyaluronic-serum-face-beauty-review-bloomzy-3 pestle-and-mortar-pure-hyaluronic-serum-face-beauty-review-bloomzy-1 pestle-and-mortar-pure-hyaluronic-serum-face-beauty-review-bloomzy-2 pestle-and-mortar-pure-hyaluronic-serum-face-beauty-review-bloomzy-4

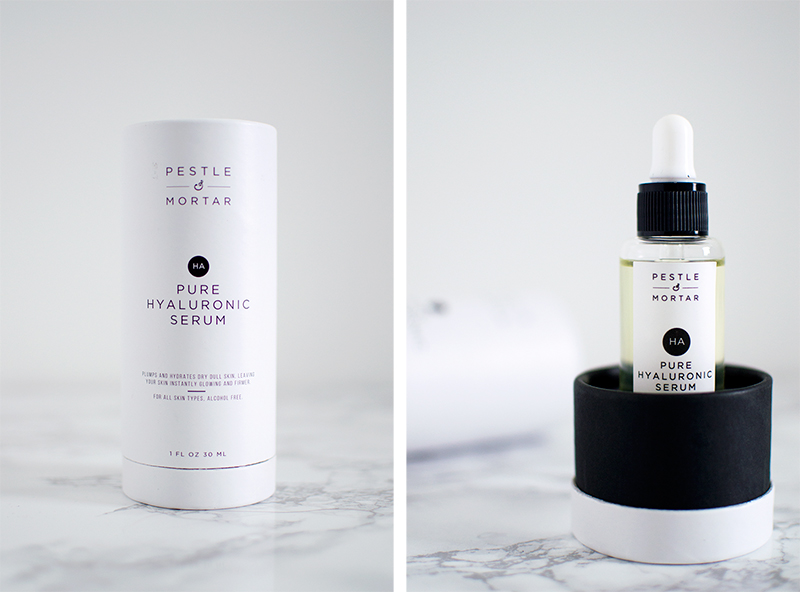
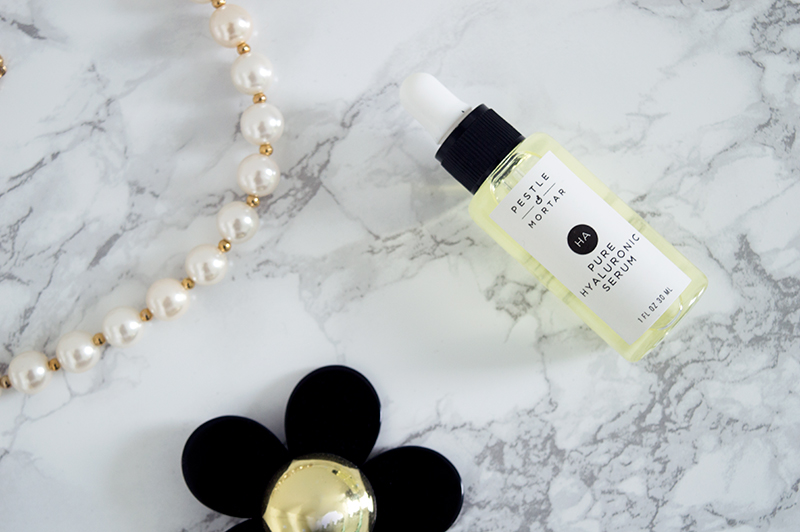
Pestle and Mortar Pure Hyaluronic Serum*

After my last foray into the world of facial serums I was left feeling pretty meh. However Pestle and Mortar came along and told me that they had a serum like no other. I do enjoy a good challenge, especially when the opponent thinks they’re going to win; so I accepted. Of course with this particular item, if the product was any good, it meant we both won. What’s not to love?

Pros:
+ Leaves skin supple and smooth
+ Hydrating
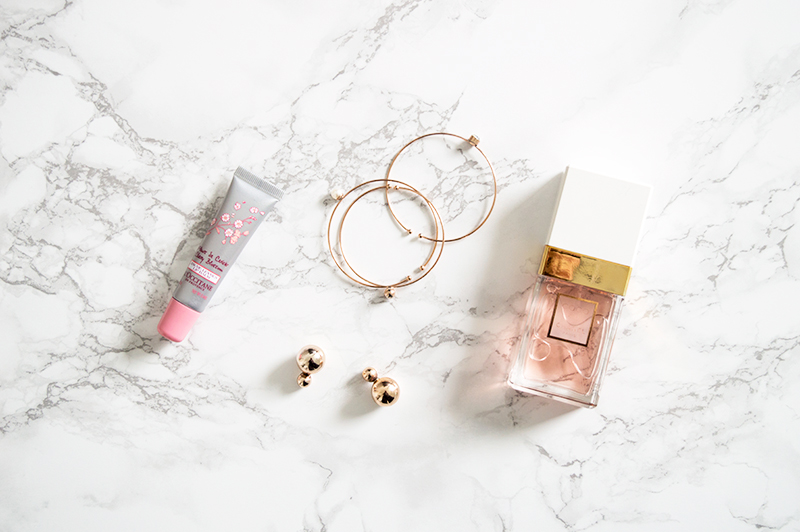
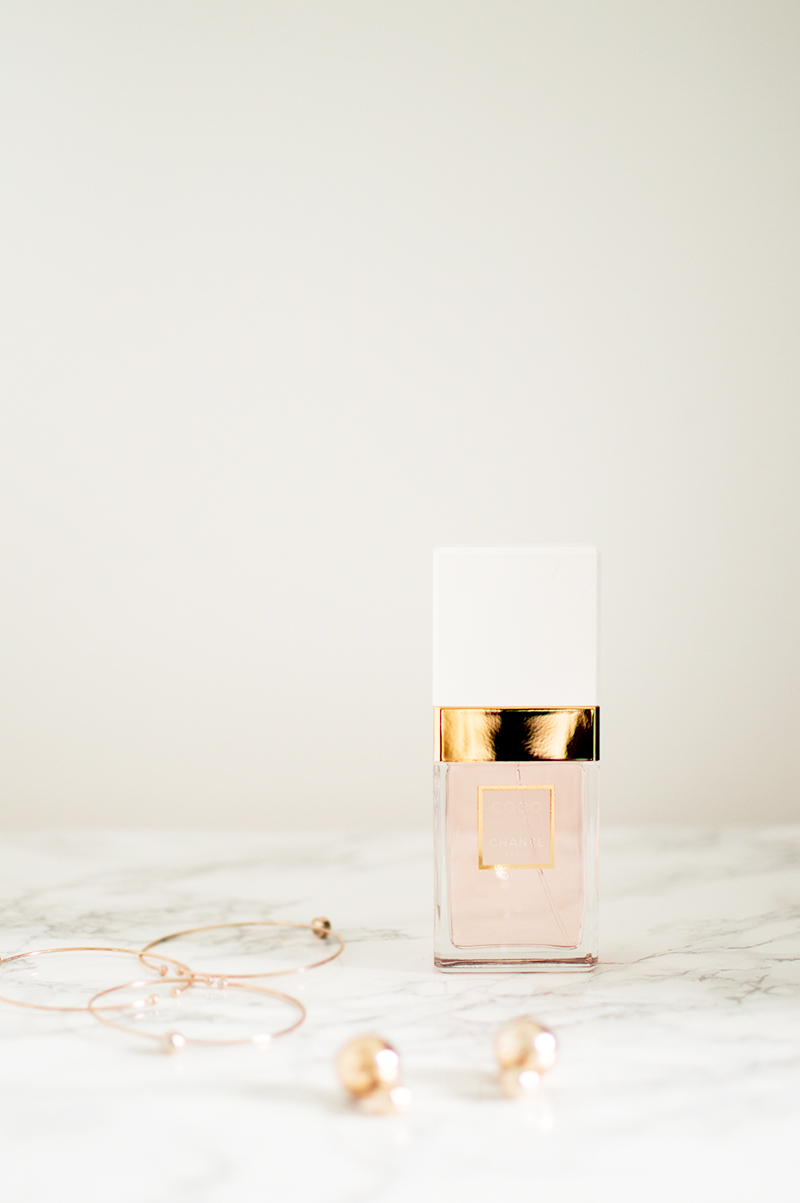
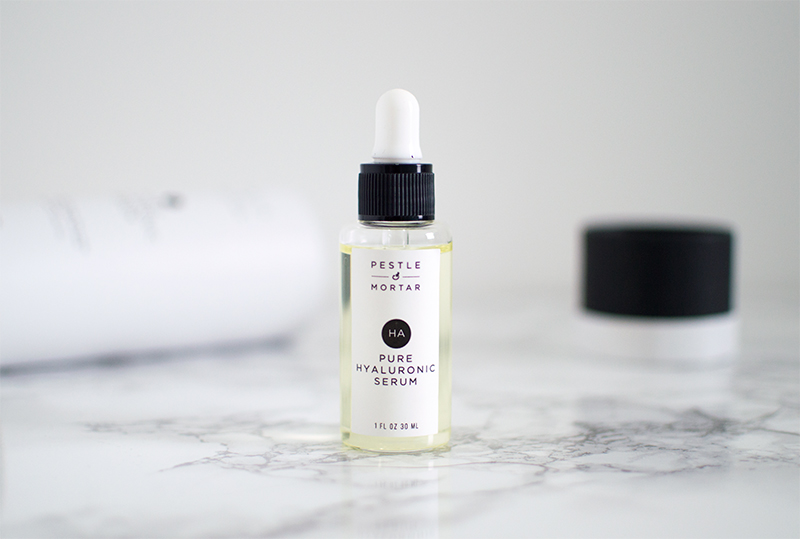
+ Beautiful packaging
+ Works well as a primer
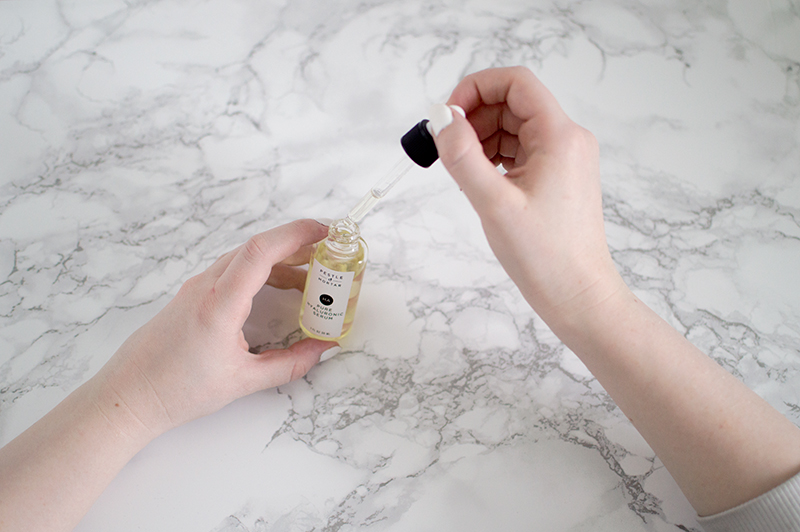
+ A little goes a long way

Cons:
– Nope, there are none!

Notes:
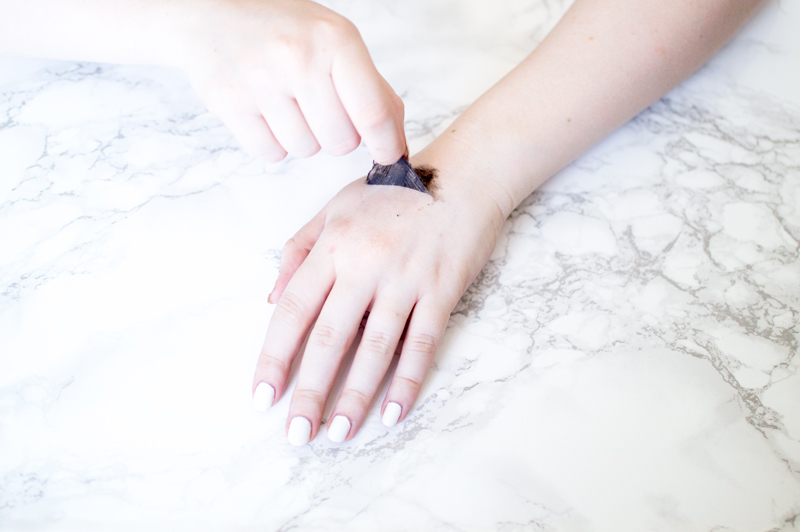
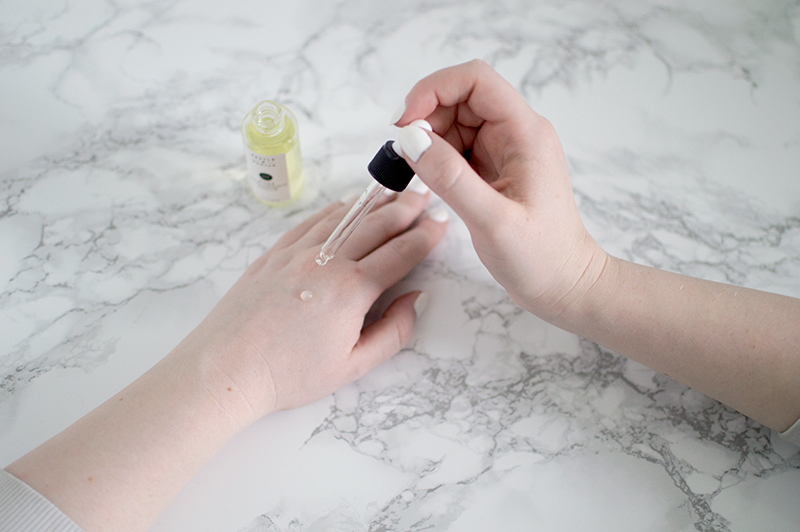
It’s been a while since I was able to find a beauty item with no cons. I like to be honest in my reviews, so I always make sure to take note of everything about the product. However I couldn’t find any bad points with Pestle & Mortar’s Pure Hyaluronic Serum. I found it easily fit into my daily beauty routine (under my moisturiser), and it worked well as a primer for my make-up. It isn’t oily like some serums, and it feels almost like a gel whilst it absorbs into your skin. It hydrates skin, without leaving it greasy, and it left mine feeling super supple and smooth. I’m sold on this little beauty. Speaking of beauty, the packaging is to die for! Surely this would take pride of place on anyone’s dresser?
Would I pay the £33 for another bottle? I would! It will last for ages as you only need a couple of drops, and afterwards you have a cute bottle for decoration. Perfection!

You can purchase the Pure Hyaluronic Serum at Pestle and Mortar.

OOTD: Amongst The Palm Trees

ootd-outfit-of-the-day-style-fashion-zara-topshop-blogger-blog-1

ootd-outfit-of-the-day-style-fashion-zara-topshop-blogger-blog-3

ootd-outfit-of-the-day-style-fashion-zara-topshop-blogger-blog-2

ootd-outfit-of-the-day-style-fashion-zara-topshop-blogger-blog-5

ootd-outfit-of-the-day-style-fashion-zara-topshop-blogger-blog-4

Shirt: Zara | Jeans: Topshop | Shoes: New Look* | Watch: New Look*

I’ve been so inspired by nature recently. The hidden patterns within leaves (shout-out to my boy Fibonacci). The varying shades of green, and the immense colours that I could never imagine recreating on a canvas. It’s amazing being able to find somewhere in the middle of a capital city where you can appreciate this. Despite what some may say, London is a pretty green city. Even in the middle of a concrete jungle like The Barbican, you can find a tropical oasis.

After V.A and I made a date to visit The Conservatory at The Barbican I knew I had to dress appropriately. I was thinking of cool fabrics (I don’t do humidity) and casually chic prints. During my weekly pilgrimage to Zara I spotted the perfect item – a striped blue and white cotton shirt. It was as if it had been made especially for this one occasion. It was so easy to pair with some plain denim jeans and tennis shoes. This is one shirt that I know I will keep coming back to this Summer.


Photos of me by V.A (chopstickpanorama)

A Minimalist Haven at Home

dwell-homeware-home-decor-interior-white-minimalist-office-space-work-bloomzy

Moving home means many things, but probably the most exciting is making a fresh start. I’ve always loved bright open rooms, but unfortunately our last apartment was small and dark. So when we were looking for a new apartment we kept this in mind. Luckily for us we found something pretty special. That meant I was finally able to decorate with one particular item that I’d always wanted, but never been able to justify – a ladder shelf. I’ve always loved how chic and minimalist ladder shelves are. They offer a space to display some of your more decorative pieces, without making things look cluttered.

Being able to see something in-store is far better than viewing it online, obviously. So I popped by Dwell’s Westfield store to see the shelf, and a few other items:

I picked up the lamp, vase and espresso cups in-store, although I was told I would have to wait for the shelf unit, as they are kept at the warehouse. The ordering process with Dwell was pretty easy. I did it right there and then in-store, and arranged to have it delivered to the same location that week (home delivery is also available). When the delivery day came I received a call stating that there were problems with the truck, and that it would be in by the end of the week instead. Sure enough I received a phone call on Friday evening to say it was ready for collection.Even with the small hiccup, everything went smoothly. I’m incredibly happy with our new space, and we’ve had so many compliments on it from friends and family. Slowly and surely our apartment is turning into the minimalist haven I have always dreamt of.

——————————–
This post is in collaboration with Dwell but all views, photos and words are my own.

dwell-homeware-home-decor-interior-white-minimalist-office-space-work-bloomzy-2-copy

dwell-homeware-home-decor-interior-white-minimalist-office-space-work-bloomzy-1-copy


Review: MayBeauty Peel Away Facemask

beauty-review-maybeauty-face-mask-facemask-peel-4

beauty-review-maybeauty-face-mask-facemask-peel-3

beauty-review-maybeauty-face-mask-facemask-peel-2

beauty-review-maybeauty-face-mask-facemask-peel-1

MayBeauty Peel Away Facemask*

Is there anything more satisfying than peeling glue off your hand? Well, if you’re one of those people who feels a little silly indulging their inner child, I have good news for you! There is an adult version…and it’s good for your skin! Admittedly it isn’t glue, in fact it’s actually a facemask by MayBeauty. I used to buy a similar mask in Daiso (no shame) whilst living in Tokyo, so I was happy to try this European offering.

Pros:
+ Refreshing and invigorating when first applied.
+ Satisfyingly peels away all at once.
+ Left my skin supple and smooth.

Cons:
– Stings slightly when peeling off.
– Shouldn’t be applied near eyebrows (or any kind of facial hair).

Notes:
Peel away masks are a guilty pleasure of mine. I love how you feel them tighten on your face…and then comes the satisfying removal. MayBeauty’s mask offered all of this and more. It left my skin feeling supple and smooth, and it clearly did something as a pesky spot appeared the next day. As annoying as it is, I always think this shows a product is doing something. There are a few downsides to the mask, such as how it stings when you peel it off (like removing a plaster). I was assured this is normal and goes off after the first wear. This leads me to the warning: do not put this anywhere near eyebrows/facial hair – it will pull it off! Luckily I didn’t experience it, but I did spot it in the instructions, and I can see why. This mask takes no prisoners! Overall, I was impressed with MayBeauty’s facemask. The test package comes with 5 masks, a brush and a guide and costs £25. After that prices start at £25 for 8 masks and increase depending on how many you wish to buy. Would I pay £25 for 2 months of masks? Yes I would. These are a great addition to anyone’s weekly skincare routine.

You can purchase the peel away facemask at MayBeauty.

Time for a Spring Clean

george-asda-homeware-lifestyle-home-interior-desk-lamp-copper-bronze

george-asda-homeware-lifestyle-home-interior-bed-duvet

george-asda-homeware-lifestyle-home-interior-alarm-clock-copper-bronze

Spring may be my favourite season, but I don’t enjoy the inevitable small talk topic of Spring cleaning. I dislike clutter so I spend most of my year tidying up and keeping things as minimal as possible – I truly believe that it helps keep my head clear also. However after starting my new job last year, I’ve found that I don’t have as much time as I used to. I knew that the move to the new apartment was going to be a great excuse to do a big overhaul of all our stuff. Of course that also means investing in new pieces. Luckily for me, George at ASDA offered me a small budget to deck out our new bedroom with.

Honestly George isn’t the first brand I think of when I want to buy new homeware. However after browsing the site I realised that they carried a lot of on-trend products (like these copper items), for very reasonable prices. Soon enough I had chosen everything and it was on it’s way. Here’s a quick rundown of what I ordered:

The main items were a dresser, lamp and a rug, with some items of bedding, and several decorative bits to scatter around the room. The dresser wasn’t the easiest to put together, but thankfully the rug and lamp did their own thing. The bedding was all very good quality. We went for the full shebang: duvet, memory foam pillows, soft pillows, bed sheets and a duvet cover set (I couldn’t resist that green). As for the decorative items, well they just look great anywhere. The Yankee candle smells lovely, and the one we popped next to the bed is scent-free – so no sniffling during the night!

I have to say that we’ve been sleeping really well, and I am usually a very light sleeper.  I’ve also found myself sneaking away to the bedroom to blog, whilst I lounge on the bed. I think it’s fair to say that our bedroom has now become a bright, attractive space for us to relax in. Mission success!

——————————–

This post is in collaboration with George at ASDA but all views, photos and words are my own.

Tutorial: DIY Marble Table

diy-marble-table-tutorial-vinyl-contact-paper-bloomzy-5

diy-marble-table-tutorial-vinyl-contact-paper-bloomzy-7

It’s been a while since I did a tutorial post; but what’s more of a shock is that this time it’s a homeware tutorial. Yes, you may have noticed by my incessant Instagram posts that I too have jumped on the marble bandwagon. However I knew that at some point decorations would no longer do. That eventually I would turn into a decor-obsessed monster. Well that day has come ladies and gentleman, and I knew I had to do something about it. No I will not be aimlessly wandering the streets of East London, rambling about marble and Pinterest tutorials to anyone who will listen. Instead I remembered something from my childhood – the old style marble contact paper/vinyl you could buy in homeware stores (que horrific memories of being dragged around B&Q by my parents). So I got on eBay and decided I would finally spruce up the table I use for my product photos…and here’s my resulting tutorial: How to create a marble table for under £20, in only 5 steps!

What do you need?
Table – I bought mine from Argos (£14.99)
Marble Contact Paper – eBay (£4.99)
Soft clean cloth
Scissors
Ruler

How to make it:
1. Clean the surface of the table.
2. Use the ruler to measure the diameter of the table.
3. Use the grid on the reverse of the contact paper to measure and cut to size.
4. Peel off some of the back paper and put it along one edge of the table.
5. Use the soft cloth to gently apply pressure to the paper. Slowly peel off the rest of the paper little by little, continuing to apply pressure as you go along.

The great thing about contact paper/vinyl is that you can always peel it off if you make a mistake (or if decide that you don’t like it). You could also use the leftover to cover your laptop or phone case…or anything else you can get your hands on.

Good luck!

diy-marble-table-tutorial-vinyl-contact-paper-bloomzy-4

diy-marble-table-tutorial-vinyl-contact-paper-bloomzy-3

diy-marble-table-tutorial-vinyl-contact-paper-bloomzy-2

diy-marble-table-tutorial-vinyl-contact-paper-bloomzy-1

diy-marble-table-tutorial-vinyl-contact-paper-bloomzy-8

diy-marble-table-tutorial-vinyl-contact-paper-bloomzy-6